DIY Indoor Plant Decor Ideas: Spruce Up Your Space with These Playful Plant Projects

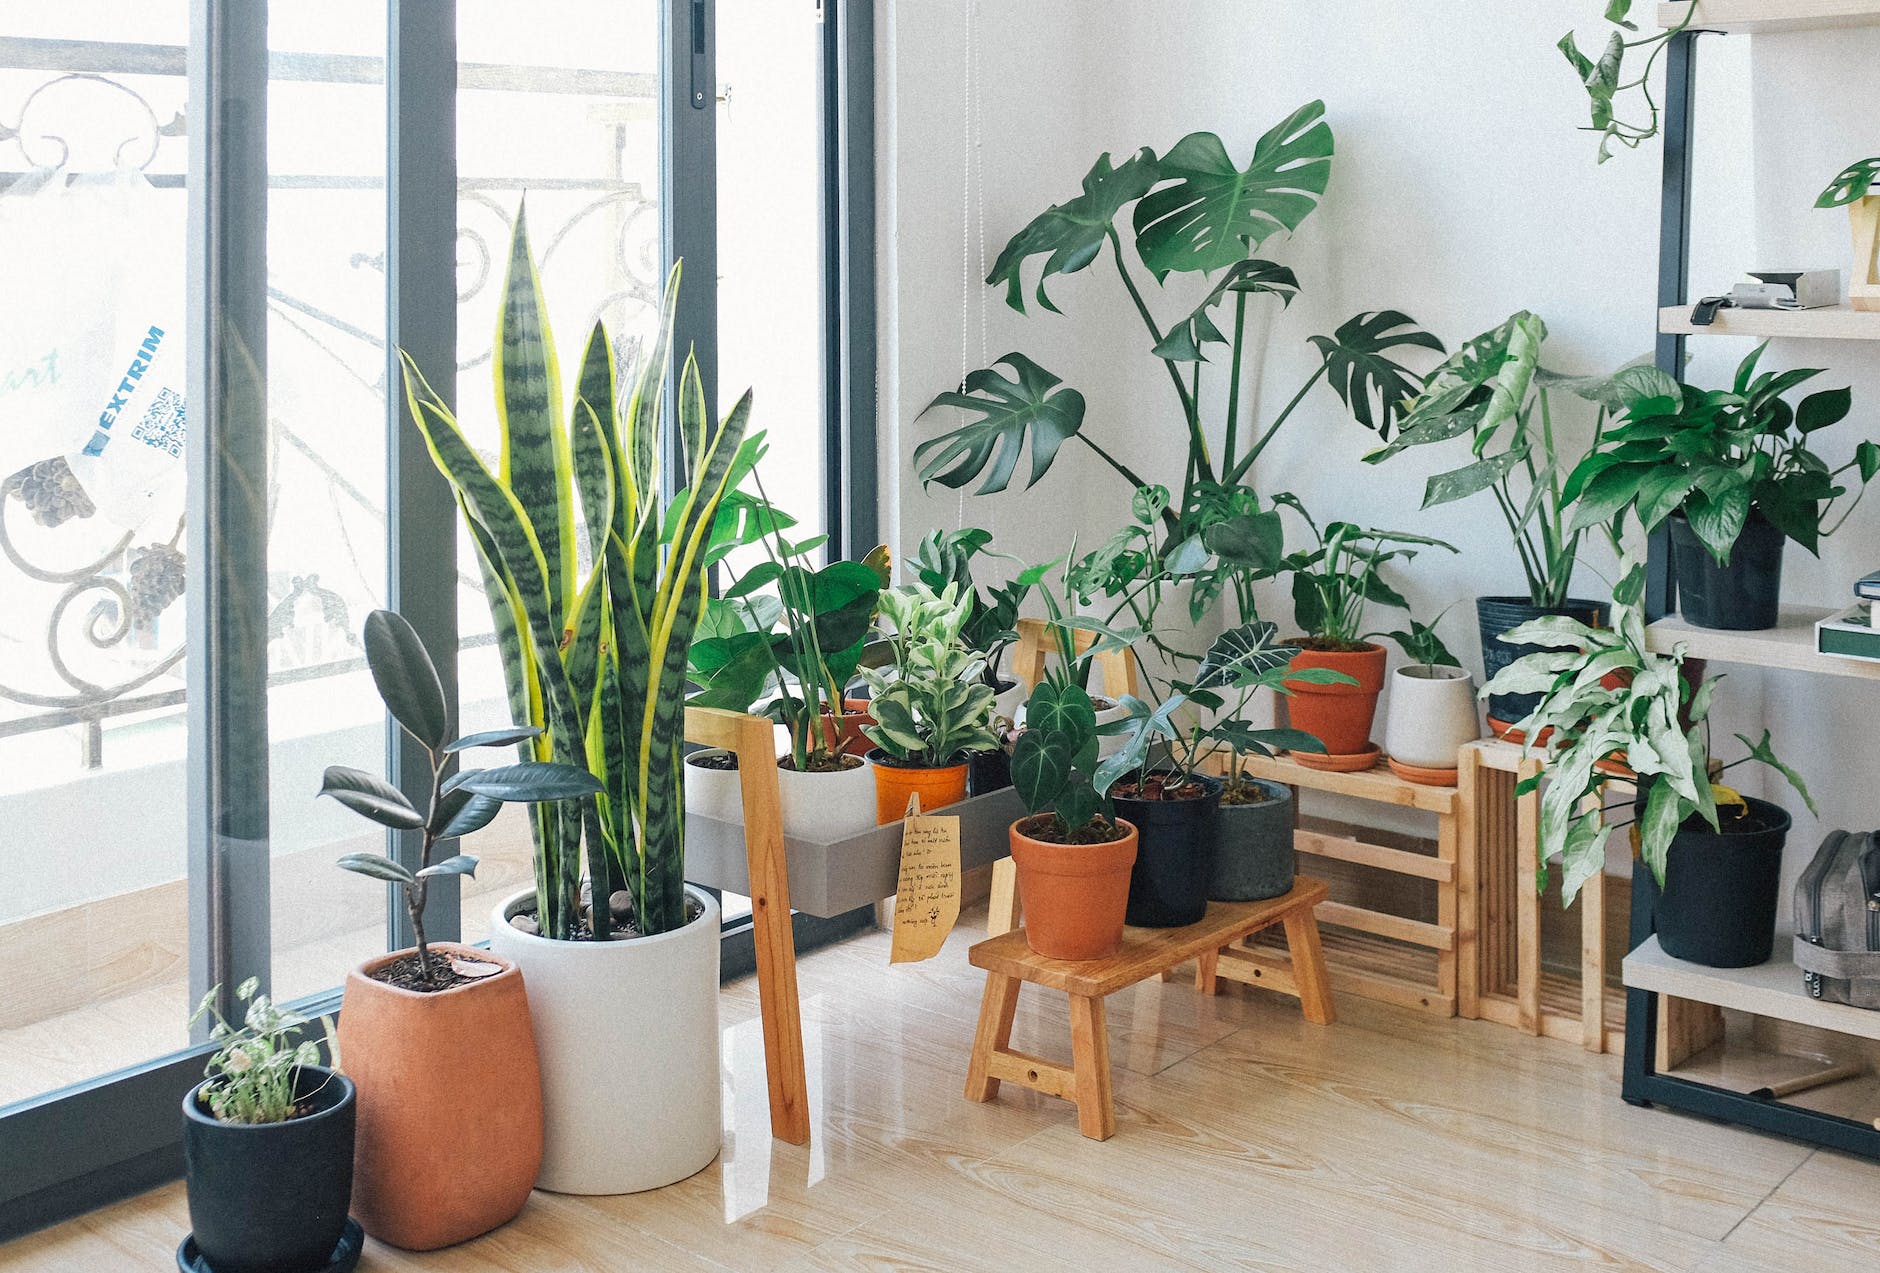
Are you looking to spruce up your living space with some greenery? Indoor plants are not only great for purifying the air, but they can also add a touch of style and personality to any room. In this blog post, we’ll share some playful DIY indoor plant decor ideas that you can easily make at home.
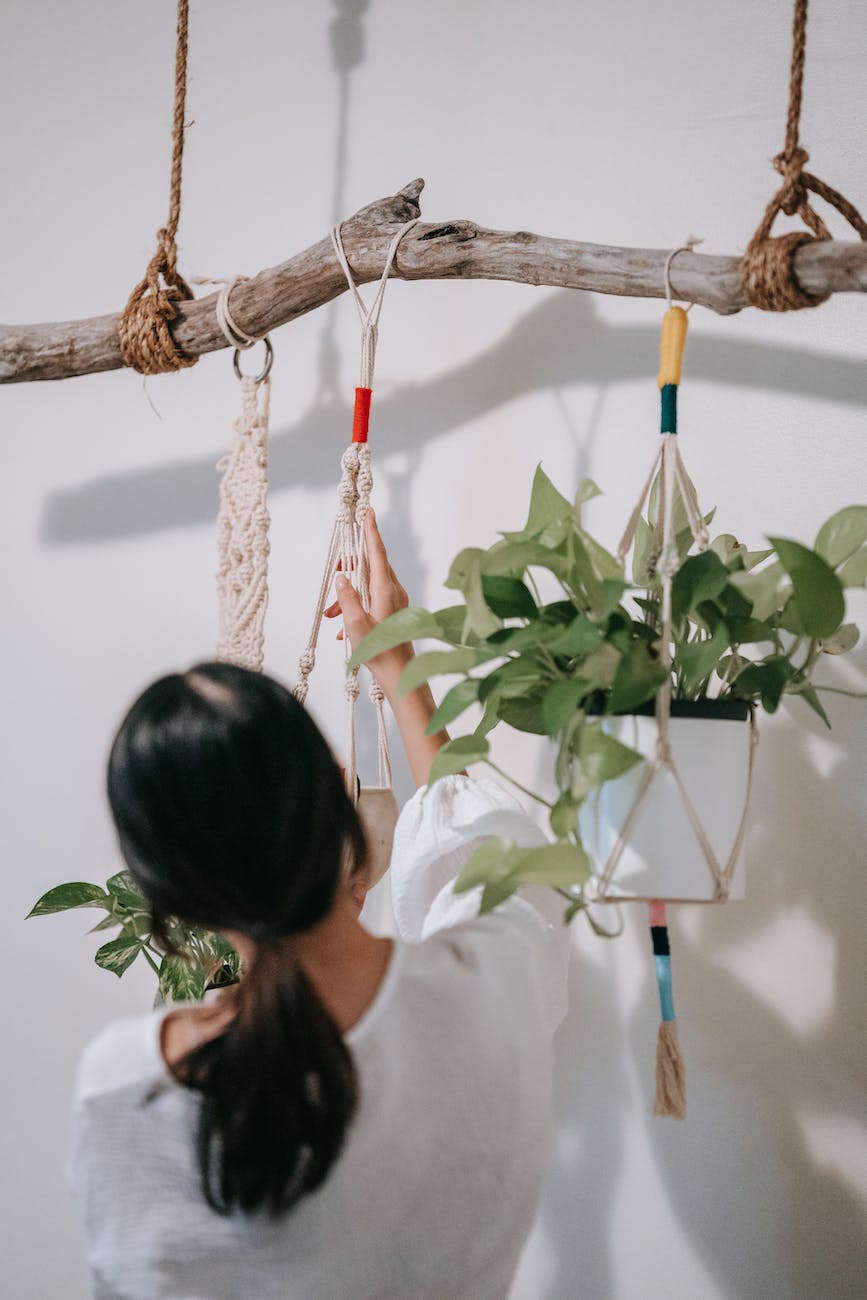
1. Macramé Hangers:

Macramé hangers are a stylish and versatile way to display your plants and add some natural beauty to your home. These plant hangers were popular in the 1970s and have made a big comeback in recent years, with their intricate knots and bohemian charm.

To create your own macramé hanger, all you need is some rope, scissors, and a pot. You can use a variety of materials for your rope, including cotton, jute, or even recycled t-shirts. Begin by cutting your rope to the desired length, taking into account the height of your ceiling and the length you want your hanger to be.

Next, tie a knot at the top of the rope, leaving enough room for the pot to sit comfortably. You can then start knotting your rope in a series of knots, either using a simple pattern or a more intricate design. There are many macramé tutorials available online to help you get started.

Once you’ve reached the desired length, you can add your plant pot to the hanger, making sure it is secure and balanced. You can create a simple knot or use a decorative wrap to tie off the hanger at the bottom.

Macramé plant hangers can be hung from the ceiling, a hook on the wall, or even from a tree branch outside. They are a great option for those who want to save floor space and add some natural beauty to their home décor. So why not try creating your own macramé hanger today and give your plants the attention they deserve?
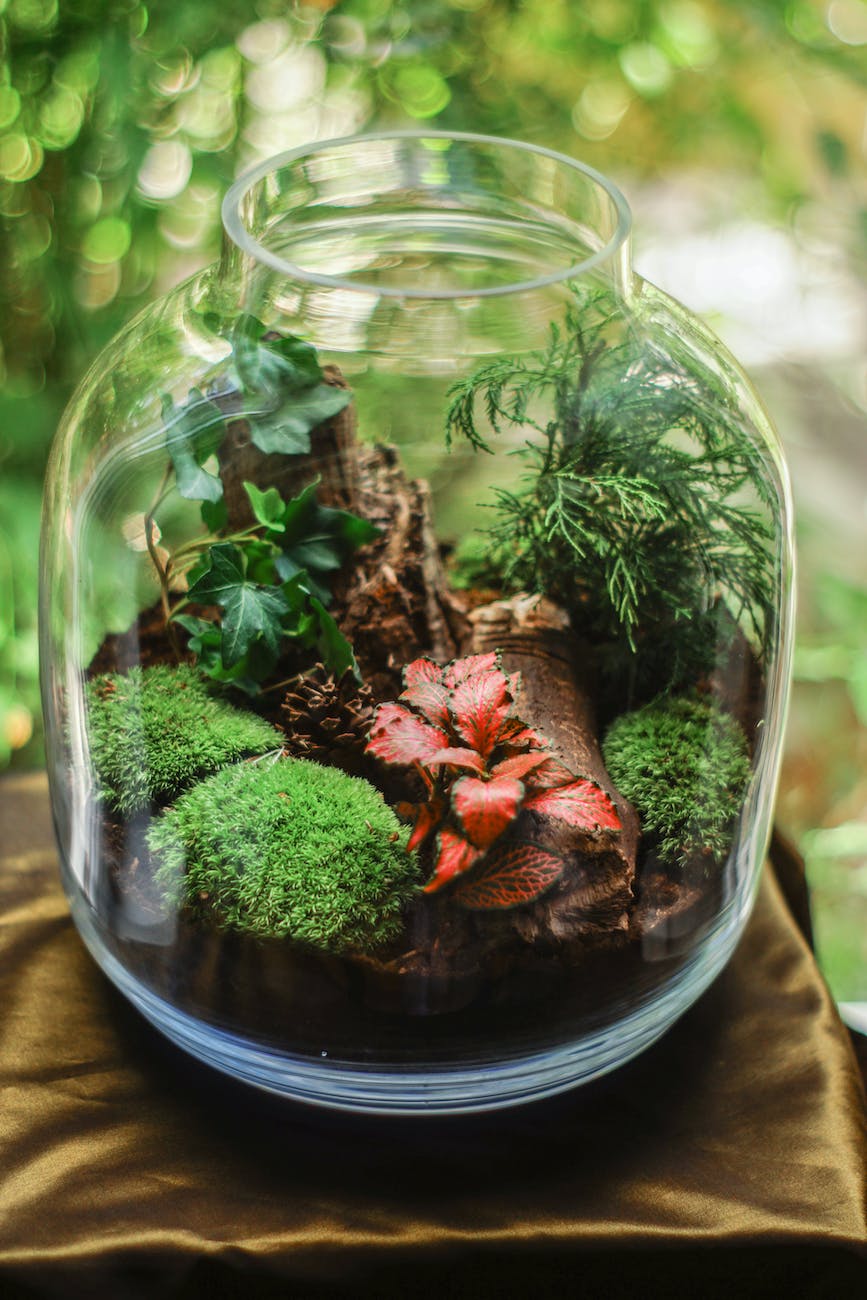
2. Terrarium:

Terrariums are a delightful way to bring the beauty of nature indoors, especially if you have limited space. These self-contained ecosystems can be created in a variety of glass containers, including jars, bowls, and even light bulbs, and can feature a range of plant species, from succulents and cacti to ferns and mosses.

To create your own terrarium, you’ll need a few basic supplies: a glass container, some small rocks or pebbles, activated charcoal (optional), potting soil, and, of course, your favorite plants. Begin by layering the rocks or pebbles on the bottom of the container. This helps with drainage and prevents water from sitting in the soil and causing root rot.

Next, add a layer of activated charcoal if desired. This helps to filter the air and prevent mold from growing inside the terrarium. Then, add a layer of potting soil, making sure to leave enough space for your plants to grow. Gently plant your chosen plants, arranging them in a way that creates a visually pleasing composition.

Once your plants are in place, it’s time to add any decorative elements you like, such as small figurines, decorative rocks, or seashells. You can also add a layer of decorative sand or moss on top of the soil for added texture and interest.

Terrariums make for excellent conversation starters and can be displayed on shelves, tabletops, or even hung from the ceiling. They require minimal maintenance and are perfect for those who may not have a green thumb or who are short on time. So why not try creating your own terrarium today and bring a little piece of nature into your home?

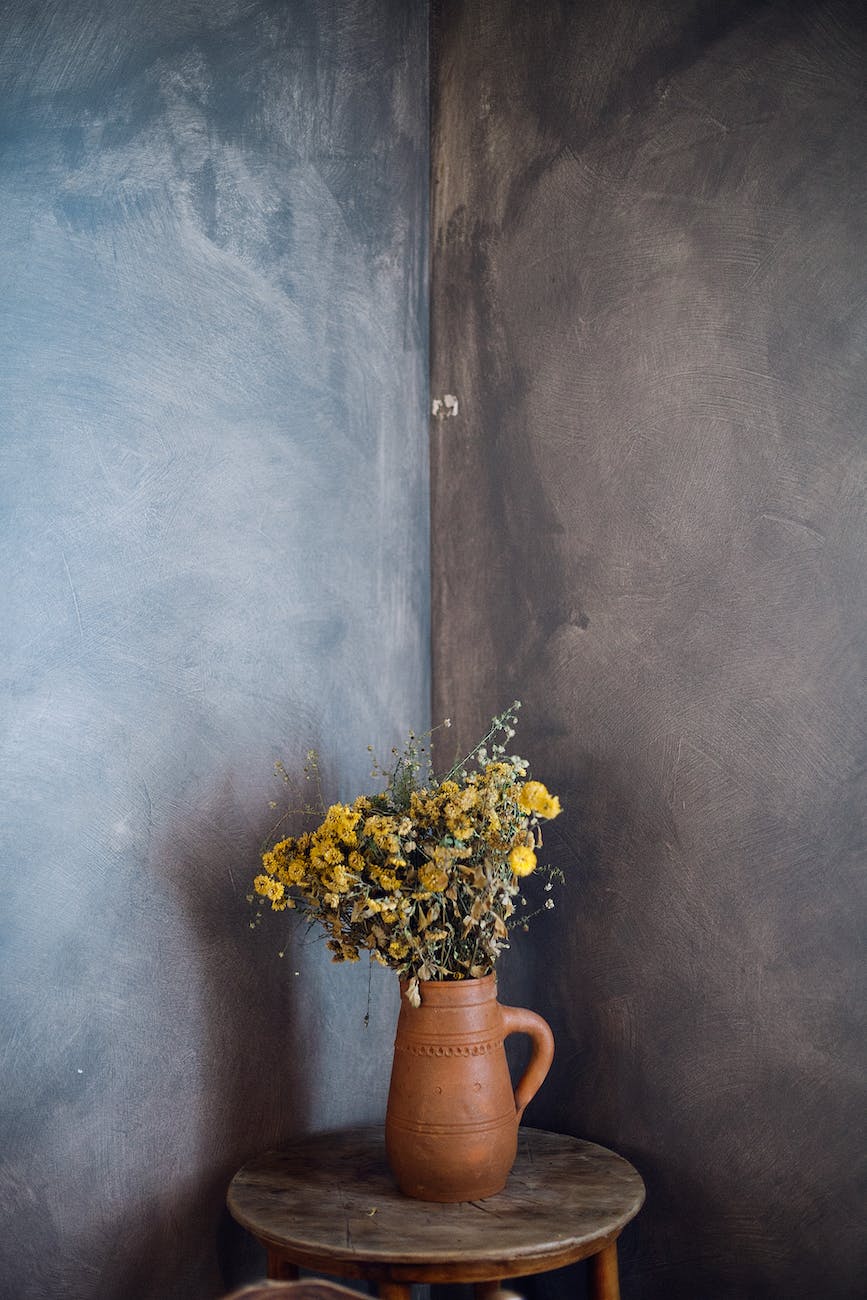
3. Vintage Containers:

If you’re looking for a fun and creative way to add some personality to your indoor plant collection, consider repurposing old containers like teapots, mugs, or vintage planters. Not only is this an eco-friendly way to give new life to old items, but it also allows you to create unique and charming plant displays that reflect your personal style.

Teapots and mugs, for example, can make excellent planters for smaller plants like herbs, succulents, or small flowering plants. Simply fill them with soil and add your plant of choice, making sure to leave enough room for the roots to grow. This not only adds a quirky touch to your décor but also provides an unexpected twist on traditional planters.

Vintage planters, on the other hand, can be used to give your plants a nostalgic feel. Whether it’s an old tin can, a classic ceramic pot, or a retro metal planter, these repurposed containers can add a touch of vintage charm to your living space. Plus, they often have a unique character that newer planters just can’t match.

By repurposing old containers as planters, you can add a personal touch to your décor while reducing waste and giving new life to old items. So why not raid your cupboards or check out local thrift stores to see what hidden gems you can find? Who knows, you might just discover a new favorite planter that you never knew you needed.

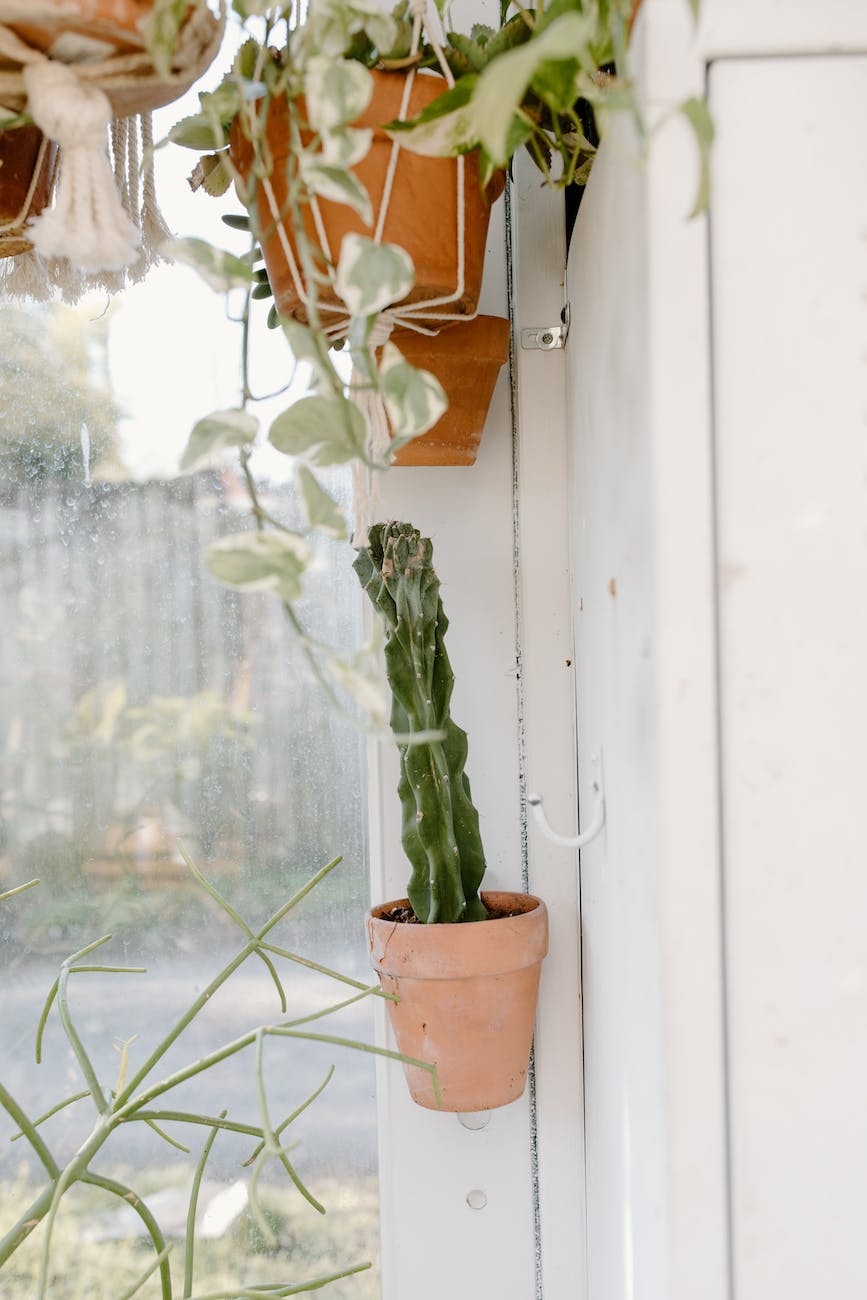
4. Hanging Planters:

Hanging planters are a fantastic choice for anyone looking to add some greenery to their home without taking up too much floor space. Whether you live in a small apartment or simply want to keep your living areas clutter-free, a hanging planter can be a stylish and practical solution.

To create your own hanging planter, all you need are a few basic supplies: a basket or mesh bag, some twine, and, of course, your favorite plant. Choose a plant that is well-suited to hanging, such as a trailing vine or a spider plant, and make sure it has enough space to grow and thrive in its new home.

Once you’ve selected your plant, gently insert it into the basket or mesh bag, taking care not to damage its roots or leaves. Then, tie the twine securely around the top of the basket, making sure it is strong enough to support the weight of the plant. You can also add some extra twine or decorative ribbon to the top of the planter for an extra touch of style.

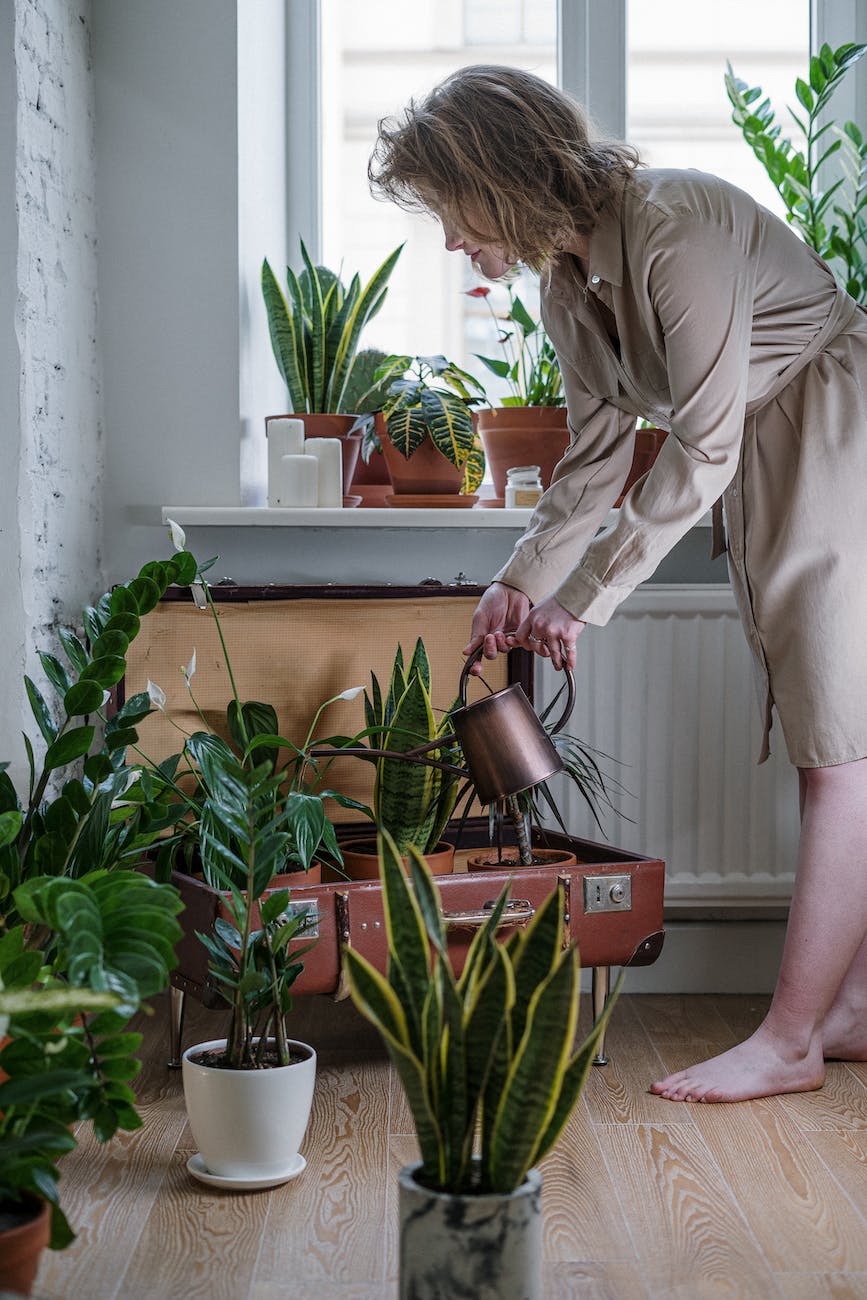
Finally, it’s time to hang your new creation! Choose a spot in your home that receives plenty of natural light and is easily accessible for watering and care. You can hang your planter from the ceiling using a hook or anchor, or attach it to a wall using a sturdy bracket or hanger. Once your planter is securely in place, sit back and enjoy the beauty and freshness it brings to your living space.

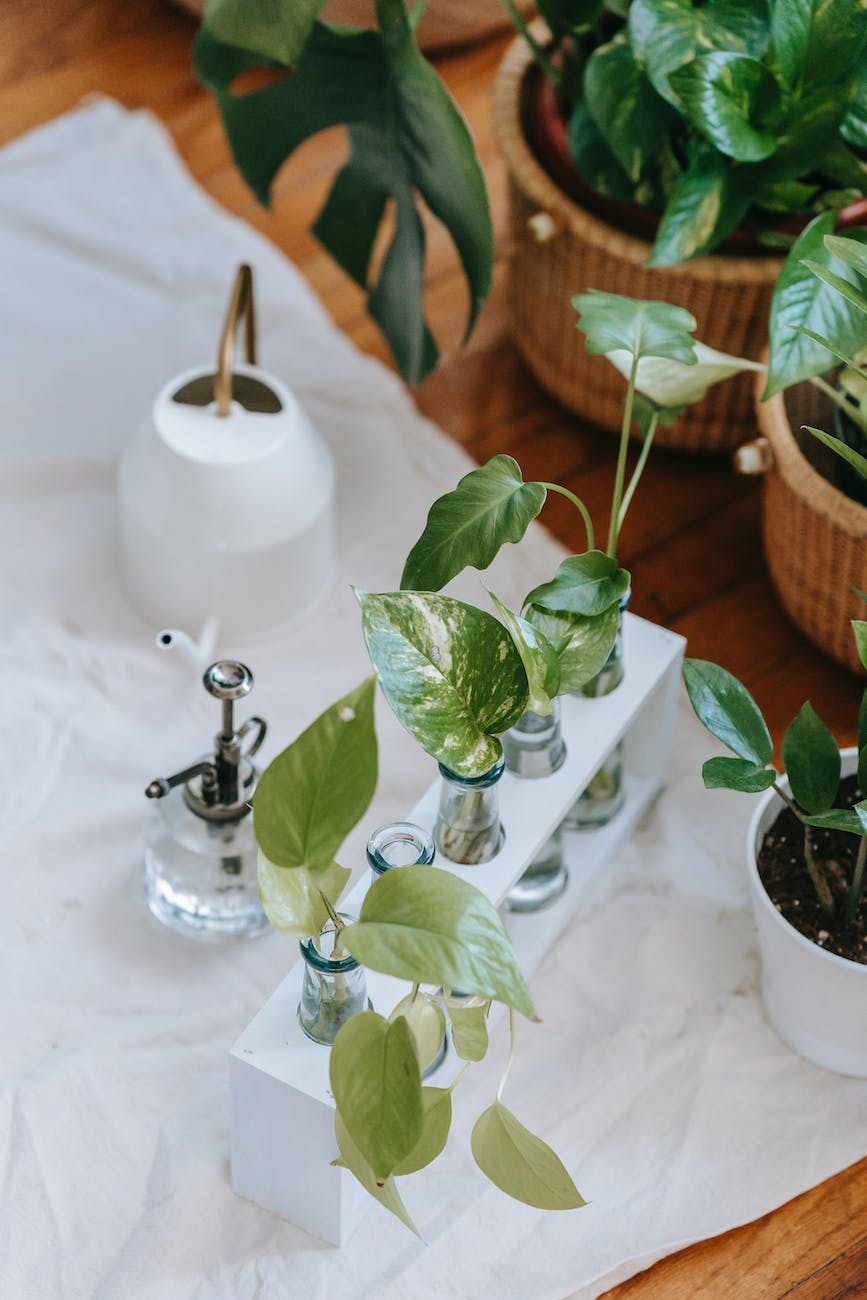
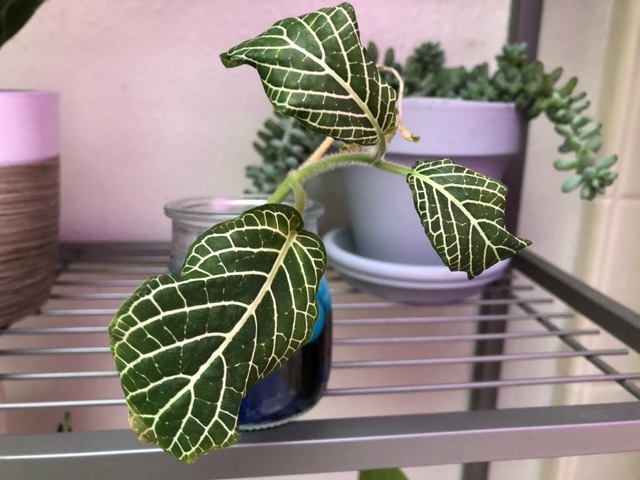
5. Test Tube/ Bottles:

Test tube plants and bottle planters are not only practical, but they can also add a touch of whimsy to your indoor plant collection.

Picture a row of delicate test tubes holding tiny, vibrant plants that seem to dance in the sunlight.

Or how about a vintage glass bottle repurposed as a hanging planter, showcasing a cascading vine?

With some creativity and a little bit of DIY know-how, you can turn ordinary glass vessels into stunning plant displays that bring life and joy to your living space.

Whether you choose to display them on a windowsill or hang them from the ceiling, test tube plants and bottle planters are sure to add a unique and charming touch to your indoor garden.

With these DIY ideas, you can create your own unique plant displays that reflect your personal style. So go ahead, get creative, and bring some greenery into your home!

Creating a Plant-Friendly Home Environment: Tips for Keeping Your Houseplants Healthy and Thriving

Hey there plant enthusiasts! Are you looking to create a home environment that’s perfect for your beloved indoor plants? If so, you’re in luck! By following a few simple tips, you can create a space that’s perfect for your plants to thrive.

One of the many benefits of having plants in your home is that they can improve the air quality and make your space feel more inviting and relaxing. But to keep your plants healthy and happy, it’s important to create a home environment that’s conducive to their growth.

So, what does a plant-friendly home environment look like? It’s all about paying attention to the basic needs of your plants and providing them with the right conditions to thrive. This might include choosing the right soil, providing adequate light and water, and maintaining a comfortable temperature.

By creating a home environment that’s perfect for your plants, you’ll be able to enjoy all the benefits of having plants in your space. Not only will your plants be healthy and happy, but you’ll also have the pleasure of enjoying their beauty and the many other benefits they bring.

Plant Types:

When it comes to caring for indoor plants, one of the most important things to consider is choosing the right plants for your space. Not all plants are well-suited to life indoors, so it’s important to select plants that are specifically designed for growing inside.

Before you buy any plants, make sure to consider the amount of light and temperature in the location where you will be placing them. Different plants have different light and temperature needs, so it’s crucial to choose plants that will thrive in your particular environment.

If you’re not sure which plants will work best in your space, don’t worry! There are plenty of options to choose from. Some popular choices for indoor plants include snake plants, pothos, and peace lilies. These plants are known for their ability to thrive in a variety of indoor conditions, making them a great choice for beginner plant parents.

So, take the time to choose the right plants for your space and you’ll be well on your way to a happy and healthy indoor garden!

Photo by Huy Phan on Pexels.com

Provide adequate light:

Without enough light, your plants may struggle to photosynthesize and thrive.

The amount of light that a plant needs depends on the species, but most indoor plants do best in bright, indirect light. This means that they should be placed in a location that gets plenty of light, but not so much that it scorches their leaves.

Avoid placing your plants in locations that are too dark or too sunny, as this can harm them. If you’re not sure about the light requirements for your plants, don’t worry! There are plenty of resources available to help you out. You can consult a gardening guide or ask a plant expert for advice.

So, make sure to give your plants the light they need to thrive. The right amount of light will keep your indoor plants will be happy and healthy.

Photo by Sigrid Abalos on Pexels.com

Temperature:

Did you know that the temperature of your home or office can have a big impact on the health of your indoor plants? Just like us, plants prefer to be kept at a comfortable temperature.

Most indoor plants prefer to be kept at temperatures between 60 and 75 degrees Fahrenheit. This may vary slightly depending on the species of plant, so it’s always a good idea to do some research or consult a gardening guide to determine the specific temperature needs of your plants.

One thing to be aware of is the location of your plants in relation to heating and cooling vents. Fluctuations in temperature caused by these vents can be harmful to your plants, so it’s best to keep them away from these areas.

Photo by cottonbro studio on Pexels.com

Watering:

One of the key ways to do that is by watering them properly.

But let’s be real, it can be tough to get the watering just right. It’s easy to either overwater or underwater your plants, which can lead to all sorts of problems. No one wants to see their beloved plants wilt or droop because they weren’t getting enough (or too much!) H2O.

So, what’s the secret to proper plant watering? It really comes down to understanding the needs of your specific plants. Some plants prefer to be watered frequently and consistently, while others prefer to dry out a bit in between waterings. A good rule of thumb is to check the top inch of soil for dryness before watering. If it feels dry to the touch, it’s probably time to give your plants a drink.

Remember, each plant is unique and may have different watering requirements. So, be sure to do your research and pay attention to your plant’s needs. With a little bit of TLC and the right amount of water, your plants will be happy and healthy in no time!

Photo by cottonbro studio on Pexels.com

Soil

As you probably know, the soil you use can play a big role in the health and well-being of your indoor plants. It’s important to choose the right soil for your specific plants, as different plants have different soil requirements.

When it comes to indoor plants, a well-draining potting soil that contains a mix of organic matter and inorganic materials is generally a good choice. This type of soil will help your plants thrive by providing the necessary nutrients and drainage they need.

But be careful! Avoid using soil from your garden, as it may contain pests or diseases that could harm your indoor plants. It’s always best to opt for a high-quality potting soil specifically designed for indoor use.

So, the next time you’re planting or repotting your indoor plants, be sure to choose the right soil. Your plants will thank you for it!

Photo by Cats Coming on Pexels.com

How to increase Humidity for indoor plants

Does your plant look sad? Is it wilting, maybe looking slightly crusty on the leaves? Your plant may be suffering from what we would like to call “Lack of humidity” Don’t let this alarm you. There is no need to call a doctor, or even a therapist.

Low humidity can be a simple fix, that may not require you watering your plant more (which may actually hurt it). Stop overwatering your plants people.

But what if I don’t know all of the signs of low humidity for plants? One may ask…

Signs of low humidity in plants:

  • Brown tip/ Curling edges on leaves.
  • Leaves looking like they are drying out in general
  • Wilted look

Note: that sometimes it is hard to tell whether your plant is under watered or doesn’t have enough humidity. In my opinion increasing it’s humidity first and then seeing the reaction is better. Rather than over watering, which may do more harm if you are wrong about what the issue is.

What you can do for humidity problems:

Humidity Tray

Photo by EKATERINA BOLOVTSOVA on Pexels.com

Misting Bottle

These are pretty simple in what they do, some have pebbles some don’t.

Personally I prefer ones with pebbles, this is because it can prevent root rot by keeping water slightly away from the roots if they start coming out of the pot.

These are normally cheap, and easy to get ahold of. Using them as a first step in trying to fix your humidity issue may be a good first choice rather than going with the more expensive options.

Please note, that unglazed clay pots typically suck moisture out of the soil faster than other options. Please take note of that.

Photo by cottonbro on Pexels.com

Another affordable option would be to simply mist your plants if they are a plant that is able to handle the mist. most are just check in case.

You generally will want to avoid water pooling into leaves which could promote mold, another area where to avoid would be near the stem if the water can collect in there.

Combining a humidity tray, with some misting could help tremendously with your humidity issues.

Bathroom

Photo by Ksenia Chernaya on Pexels.com

Humidifier

There are other ways that you can increase the humidity for your plants and not really have to do anything but move them.

This would be bringing them to your bathroom. A lot of the time this can be a quick easy no cost solution to the humidity issues you may be facing.

In a lot of areas during the winter, most parts of peoples houses tend to lose humidity either due to fires, or heaters that kill the humidity. So if the weather is getting colder and you are noticing your plants suffering from the symptoms above. Try moving it into the bathroom. Also, orchids tend to thrive in bathrooms from my own experience.

Photo by cottonbro on Pexels.com

When worse comes to worse in the humidity problems of plants. Maybe you just have too many plants to do the above suggested things for.

This is when I would suggest a humidifier. A lot of humidifiers can read the rooms humidity levels. They are generally automatic.

You can usually find some good humidifiers online that won’t break the bank either. So if you just want to relax and not have to put misting your plants on the list of things you already have to do, this is what I would suggest.

Humidifiers can also be good for stopping the stuffy nose, or cracked lips in the winter which is just an extra added bonus.

One last note about the humidifiers. You will want to do maintenance sometimes in order to check for mold. Because it holds water inside of it, you could get some mold growth, which is easy to take care of if it does happen.

The Last Month Update

This last month has been rough, especially with school. I turned out to be a lot busier than what I was expecting. I wish I had been able to write more but I haven’t been able to put in the time to do proper research. I wasn’t wanting to put out a bad article. I have been focusing on school, and wanted to get my office worked on a bit more.

I have been contemplated doing some DIY outdoor planter boxes when I get the chance for a while. My girlfriend really thinks that they would be nice to grow some veggies on the side of the house and look nice at the same time. I don’t think I can disagree with her.

Because the weather has been so nice, I started making the raised garden bed. The frame is all laid out. All I have to take the grass out of that area, and level it so the boards lay flat. I will most likely line the bottom of it with sticks for extra nutrients, as well as not having to fill as much with topsoil. I will most likely have to buy some starts from what I want to grow because I started too late I believe to grow from seed.

I hope to finish a few of my posts soon. I have some that are half written, but I wanted to take the time with them in order to make them worth reading. Another issue I have had is with the alocasia silver dragon that I bought, which I believe is having some sort of fungus issue/rot. I got it and the soil was not proper soil for it which I think was a main factor.

I know I should have transferred the plant into a different type, but I thought aerating it would do it well considering the weather has gotten warmer. However I was wrong, but someone did suggest I use a copper type of treatment on it. I have to look into that a little more but it is at least something I can try.

Thank you for reading,

-Plant Dummy

The $7 beauty of a Plant.

Well, I made the decision last night. I decided to get back into the car, go down to Lowes again. Find the exact Dumb Cane, carry it around for another 10 minutes while I decide and look at other things until I decided to buy it for a whopping total for $7.

I think I got it for a steal, this thing has some broken leaves, sure. But it has new growth, as well as a couple of really nice looking bigger leaves. I don’t know if I will propagate the smaller ones yet. I have time to decide. As of now my dumb cane sits in the corner of my office, with shaded light from my window.

I am kind of nervous to cut the bad foliage off of the plant. This is because apparently dumb cane if it touches your skin can be a real irritant. I know I will be fine, but I really don’t want to get it on my skin on accident.

Anyways, while I was deciding on whether or not I wanted to take the $7 plunge, I was looking at the fruit/vegetable area that they had just brought in. There was a thing called a “hardy kiwi” which I have never heard of.

But apparently these hardy kiwis are a vine type of kiwi, which the fruits are from a size of a blueberry to a small tomato. I think I will have to go back and get one when the time of planting is. I think the guideline said around May. I need to double check. But I guess the flavor is favored over the regular kiwi fruit. So I am excited to give it a shot.

Perhaps that will be in part of one of the next updates, but until then

Thank you for reading,

-Plant Dummy

Identifying Powdery Mildew: Treat in a natural way

Learn how to Identify, and treat powdery mildew easily.

So you notice your plants leaves are curling a little bit. Maybe you see think someone sprinkled powdered sugar all over your plants, but I highly doubt that. You should rule out mealybugs which is one of the pests I talk about in another article.

However you still have a problem. Good thing for you, powdery mildew is not really a death sentence for your your plants, just a major annoyance but it shouldn’t be ignored because it can get worse. Getting powdery mildew is important not only for saving the amount of headaches.

Identifying Powdery Mildew

with powdered mildew, you will most likely see some white powder on your leaves or around the stem area. It may look like if there was water spots on your leaves that dried into a fine white powder.

Another symptom can be curling leaves, and discoloration. This can lead people to think that there is a nutrient issue, this is more common further into an infection when it tends to be more severe.

Some leaves may curl up and fall off at a further stage of infection.

How does powdery mildew happen

Considering that powdery mildew is usually various fungal spores, which can lay dormant and start spreading once the conditions are better for it to spread.

A powdery mildew infection can start from bad air flow, bad lighting (to little), bringing in a new plant that is infected, even walking into the room with spores on your clothes from outside could do it.

Another factor is high humidity ranging from around 60-70% and higher. High humidity often can lead to fungus/mold issues if they are presented into the environment mixed with other negative factors. That is why it is important to have some air flow and proper lighting.

Note: make sure whatever you have to do with the plant that you are careful, because the spores can transfer very easily.

Treating Powdery Mildew

Isolate your infected plant from your other plants, carefully cover the plant if you are able to so that the spores don’t get released into the air. Be careful when you move the plant, because the spores are very sensitive and can spread very easily.

Either pinch the affected leaves, or areas such as a vine on an English Ivy that is infected. If you have to use any gloves or tools, make sure you wash them or sanitize them in order to kill the spores afterwards. You don’t want to accidentally re introduce the spores.

Tip for trimming: You can also use cinnamon after you pinch or cut on the areas, because cinnamon has antifungal properties, so it helps prevent infection, and can lead to boosted growth from previously clipped areas to boost the possibility of growth as well.

You can use either a spray or something like neem oil. Just be careful with neem oil and too much light because neem oil can lead to certain plants burning easily from light sensitivity.

If worse comes to worse, and you really have to. You can use a spray that will help with the issue, just make sure you research if what spray you will be using is okay for your plant.

Improving aspects that caused the problem will help you longer term. This can be increasing air flow, giving the room proper lighting, or decreasing the humidity if there is too much.

If you want more tips:

Honestly there are products out there that I could easily pump out. But I think that the best bet to prevent this stuff is making your environment a good environment. If you are curious about what I think are good things that make owning indoor plants easier you can check out my post on Indoor Plant Tools to make your life easier.

Don’t miss out on useful articles in the future by joining my mail list to keep updated.

Processing…
Success! You're on the list.

Thank you again for reading,

-Plant Dummy

My Regret of the Day…

While I am finishing up my office, I realize I need to install some curtains. To prevent creepy people can’t gaze upon me when I am working. Also to not let people see my computer setup from the street.

I make my way down to the local Lowe’s. I like Lowe’s better for home stuff than Home Depot… anyways, I make my way to the plant section as any normal person would.

They have a huge section this week, a bunch of new things even a monstera which I am ashamed I didn’t get (There’s still tomorrow).

When all of the sudden I spot them. The sickly dying plants that are on discount. BOOM, more bang for my buck. There is one in particular that I like but I haven’t ever had one before.

The plant was called a Dieffenbachia. Also known as a dumb cane. Which it kind of looked like this

It kind of looked like this one, except for sadder and closer to death. But the good thing about it, was that it was only $7 and normally they are worth like $30 from what I saw online.

So I picked the plant up and went on my way to get curtains. People were looking at me funny with this big plant that I was carrying in front of me.

Next thing I notice about the plant was some white dust looking stuff. And I was saddened. I inspected further… Yes, I am pretty sure that is evidence of Mealybugs in the little folds, or some sort of mildew, but this plant was pretty sick.

Photo by Byron Co on Unsplash

I ended up doing a circle in the store to take it back, I was thinking that I have too many projects going on, and shouldn’t get a sick plant. However I was talking to my girlfriend about how they had monsteras at Lowes for a good price. I think I might have to sleep on the decision to pick them both up tomorrow. This isn’t sponsored by Lowes in anyway either, I just sometimes like the plants that they have to offer.

I may have to give an update tomorrow if I decide to get one or both.

What do you all think? Should I just go for it?

Thank you again for reading,

-Plant Dummy

Who is Plant Dummy?

I want give some sort of insight of who I am as a person. I understand that most people want to feel some sort of connection, or relation of who someone is behind the screen, to get a feel whether they like them or not.

Currently I am a full time college student studying business. I am a senior, who is very excited to work get further into the workforce (fingers crossed). I want to continue to build my skills when it comes to creativity, writing, and design. Creating something that is completely mine, being able to see where I started and how to improve upon it will help my editorial skills, as well as decision skills on what I think people may want or need to learn as I learn it myself.

I thought of creating of a blog a while back (at least couple of years ago) but never really deciding to take the plunge. It honestly was/is scary to me. Like what if I did it wrong, or people didn’t like me. Deciding that in my mind there was never going to be a better opportunity to do it then right now is what got me to go forward. Putting something out there that is mine, that I think would be interesting and useful for other people was the only think my mind should have been focusing on rather than the fear of failing something I never attempted.

Creating something that is unique is important to me. Having something have my personality as well as voice means a lot to me. There lot of different blogs that I see that come across as all knowing, or they are the keepers of what is right in the plant world. Plus I just like plants! Here’s one one of our (what I believe to be) White Nerve plants. Featuring a Burro’s tail peaking out in the back.

White Nerve Plant – PlantDummy

It is important to me to get information that is accurate across to the reader, however I won’t pretend like I solely know the exact truths and ways. Doing my due diligence on finding sources that are legitimate is one of my main goals.

A lot of people churn and burn blog posts to get the maximum volume. I really want to try to avoid that unless there is a part in a blog that I think needs a particular spotlight. I want to focus on quality rather than rehashing old ideas.

I realized that that I just need to do it if I think it, and just go for it. I obviously am not perfect, but I would regret not doing something like this, and building upon my skills, and knowledge that I am able to spread while learning myself. This blog may adopt things here and there that I think will add to the quality. Who knows, I may even add certain extra types of things that I enjoy writing about. Maybe even include my opinion on certain things, or just my process of how the blog is going, or what I plan to be working on in the future.

I will be back and write updates like this because I think people may want to see the me evolve and my thought process on things. Even if it is just a couple people, I think it would be good for me to be able to just have a voice for someone who may want to listen.

Thank you for reading, and as always. If you have any suggestions or things that you want to hear about please let me know. I really do take your considerations into play when I decide what I am going to write about.